Table of Contents
Last Updated on August 10, 2024 by Heenan
Applying a driveway sealer is easy; you need a few tools to accomplish the task.
However, sealing the driveway requires prior tasks before applying the sealer. It varies depending on the type of driveway surface.
In this tutorial, I’m considering you have a blacktop driveway.
Let me guide you through the steps on “how to apply driveway sealer,” following the most effective and easiest ways.
Before you start the proceedings, make sure you have gathered these tools –
- Sealers for a concrete driveway.
- Sealer for blacktop driveway.
- Blacktop crack filler (if the surface has small cracks).
- Driveway patch (if the surface has large cracks).
- Degreaser (only if the surface contains oil stain).
- Hose-end sprayer.
- Pressure washer (optional).
- Tamper.
- Broom.
- Paintbrush.
- Leaf blower.
So, without any further delay, let’s get the ball rolling.
How to Apply Driveway Sealer – Five Dead Simple Steps
Pro Tip: It’s quite essential to choose a sunny day to apply the driveway sealer. It should be at least 50 degrees, and work should start as early as possible in the morning. It will give ample time to cure the sealer properly.
Step 1: Cleaning the Surface
Before you start applying the sealer, make sure to prepare the surface.
First, remove the weeds and moss, if there are any.
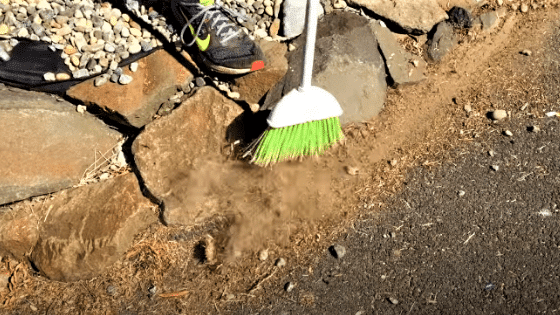
Then, use the leaf blower to remove all the leaves, debris, grim, pebbles, etc. Whether you have to remove any weeds or not, you must remove these residues.
Next, see if the surface contains any oil stains or not. If it has any stains, then use the degreaser to remove them.
After that, give the surface a deep clean. Use the hose-end sprayer with some detergent in it. Any regular detergent will get the job done well.
You can use the pressure washer at this stage to get even better results. Pressure washing is not mandatory, but if you do, make sure you use a 15-degree nozzle.
Once you wash out the surface, you will want to use the leaf blower or the push broom to remove any remaining particles.
Before moving to the following steps (i.e., step 2: filling the cracks), let the surface dry properly. There is nothing like you have to give a certain amount of hours to let it dry before applying the crack filler. Just make sure it dries, and there is no standing water.
Step 2: Filling the Cracks
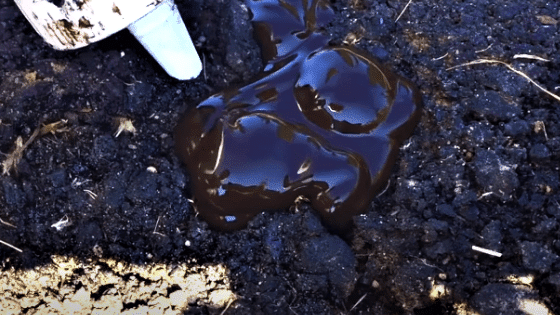
Fill up any cracks (if there are any) with the crack filler.
When applying the crack filler, make sure you put enough filler to fill the cracks. At the same time, confirm that you are not over-applying it so that it isn’t visible even after using the driveway sealer.
A crack filler bottle is good enough to fill up the small cracks (less than ½”). After applying the filler, let it dry for at least 4 hours (best if 8 hours).
But if there’s a large crack (bigger than ½”) in the middle of the driveway, you should use the driveway patch and tamper to fill the cracks up. In this case, you should give the surface set for a couple of weeks before you apply the sealer.
Pro Tip: Better follow the manufacturer’s instructions on the time required to cure the filler or patch before applying the sealer.
Step 3: Mixing the Sealer
This is another vital step that many users miss out on when applying a driveway sealer.
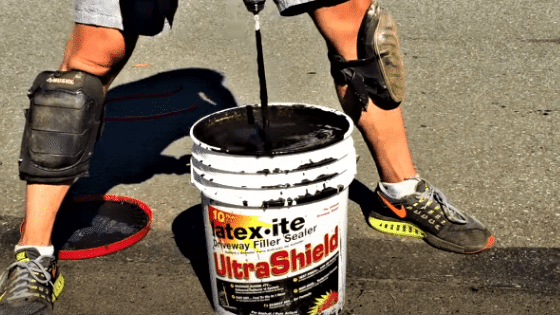
If you are sealing a blacktop driveway, mixing the sealer properly is essential before applying it. The blacktop driveway sealers are typically very thick; blending them for at least 5 minutes will give you the best output.
You can mix the solution in several ways. The most effective way is to attach a mixer with a drill. If you don’t want to use a drill, you can use a woodblock or whatever you find easy to blend the solution well.
I understand it’s a bit of an unexciting task to mix the solution for about 5 minutes. But don’t skip this step.
Step 4: Seal the Edge First
Sealing the edge with a paintbrush is essential if the driveway’s top meets with the garage or any other structure.
Otherwise, it will black out some unwanted areas if you pour the sealer from the top edge of the driveway.
Step 5: Apply the Sealer
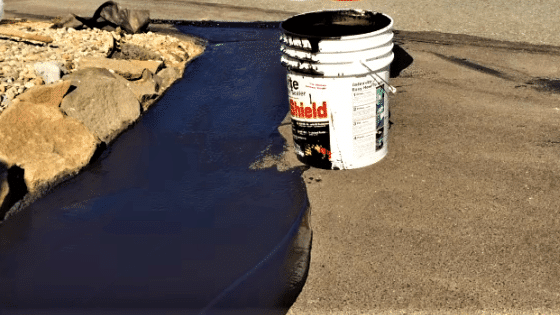
Once you cut in around the edge with a paintbrush, you are at the last step, applying the sealer throughout the rest of the area.
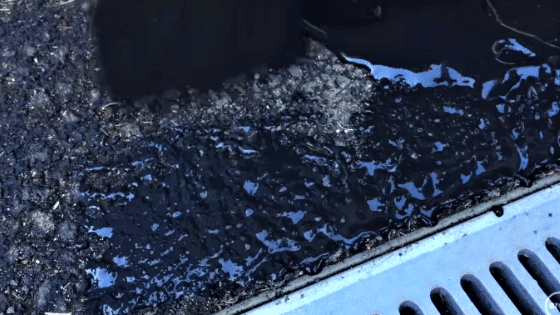
First, pour the sealer along the width of the driveway line by line. Once you complete pouring the first line, stop. It’s time to spread it using the push broom.
Ideally, you will want to deal with 4×4 feet square at a time, pulling the sealer with the broom to cover one direction first, then the other.
Working fast will help to blend the sealer evenly during the first coat.
Some driveway sealers require only one coat to get the best results; some require a second coat.
If you need a second coat, give enough time to dry the sealer after the first coat as per the manufacturer’s recommendation.
Pro Tip: If you use multiple buckets of the sealer, then when one bucket gets through half the way, intermix the next bucket. It will help to maintain a steady color and consistency.
Final Words
It is easy to apply a driveway sealer, and any DIYer can do it without any hassle.
You don’t need to hire professionals to seal your driveway if you follow the above simple steps. Following each stage per my guidelines is essential to get the best results.
Don’t go cheap when choosing the driveway sealer.
Here, I guessed that you have a blacktop driveway. If that’s not the case, then purchase a high-quality sealer based on the driveway type, like concrete, asphalt, etc.
I’ve written a separate review guide on the best driveway sealer. There, I’ve mentioned some top-notch solutions with their benefits and pitfalls to help you choose the best bet.
Related Resources:
#1. The 5 Main Paver Types Explained By Real User
#2. The 6 Main Paving Types Explained By Real User
#3. Concrete Driveway Sealing Guide.


